X-UAV Clouds Compact Pan & Tilt / Pan Only
thingiverse
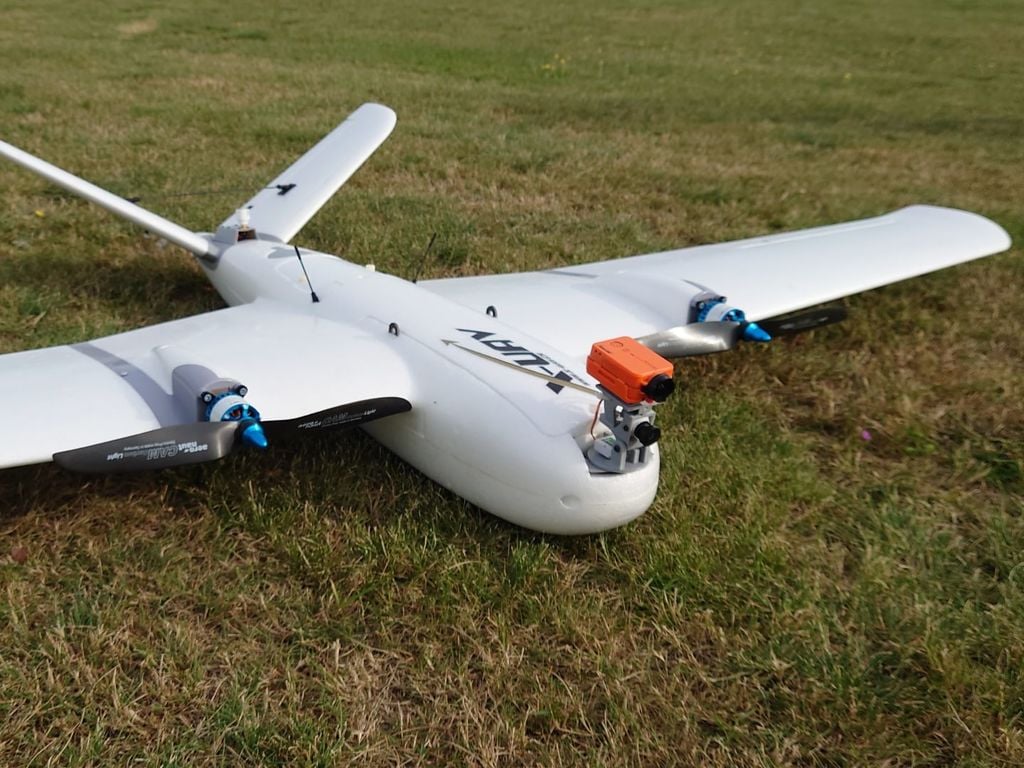
Hello Pilots. I made this pan and tilt to be as compact and sleek as possible to fit right inside the X-UAV Clouds nose with minimal cutting. I hope you like it. The pan is designed to have no bending load on the pan axis servo and allow 180° turning with a unmodified standard 90° Servo due to the 2:1 Gear ratio. Please read advises below!!! Video of it in action (with the simple bearing): https://youtu.be/6Ao8strqTsM ######## READ ALL OF THIS FOR BEST RESULTS ####### Base: Print upright with support and 5% infill (lines) to keep the weight low. There is a version for 8mm standard 608 skate bearings to support the Pan plate and a 11mm version to support Angular Ball Bearings like this one: https://www.kugellager-express.de/angular-ball-bearing-30-8-2rs-tn-8x22x11-mm I HIGHLY recommend to use angular ball bearings to get a more rigid and wobble free pan axis! The Bearing should press fit but you can carefully add a drip of glue to fix it in place. The only Foam cutting needed is for a recess for the servo and cabling. Main Axis: Print with 100% infill, gear facing down and 0.1mm! The axis press fits inside the bearing but to secure it and make it robust and stiff, you have to use a 18-22mm long M3 Screw to mount the turntable base. This will spread the lower part of the main axis and clamp it down inside the bearing. IMPORTANT: Add some oil to the tip of the screw and tighten it very slowly and with pauses at the first time. Otherwise the friction will melt the Plastics and the spread clamping will not work! Gears: Just print with 100% infil and very slowly, 0.1mm resolution! the teeth have 0.1mm backlash in the STL. Play around with slight amounts of over or under extrusion to get a precise fit with no backlash. This is important for smooth operation. Add some mechanical grease later after the gears are worn in a bit and move smoothly. Servos: High precision and powerful pan servo is needed as the 2:1 gear ratio will exaggerate any backlash or double center of the servo.I recommend this one for PAN: https://www.banggood.com/custlink/vm3R654wFL Use the Servo spacer and scale them up on the Z Axis only to get the servo to the correct hight. I have cut threads into the Votik Servo tabs and screwed them on from the bottom but you can also use just a M3 screw and a nut to tighten it down. For the Tilt servo use any proper 4.5g or 8mm servo. I used this one with good results: https://www.banggood.com/custlink/vDvY05B7P0 just bend some pushrod wire and put it in the hole on the side of the Tilt base and then in the second inner hole of the servo horn. Cut away the rest of the servo hole. Tilt Base: Print face down without support, block all support in the holes! The tilt base fits any 19x19mm FPV or Split Cam. I will add a Runcam Hybrid / Caddx Tarsier version later with a top mount that holds the board. Turntable: Print with 100% infill and no support. There is a PAN only turntable that fits any 19mm camera and also Hybrid cams like Runcam Hybrid or Tarsier. Action Cam Platform: Print with back side down and BRIM to support the thin edge. The top plate is now designed to hold a Runcam 2 style camera. You can attach it with 3M Dual Lock as I did or use Velcro and a cable tie. GoPro Hero or Session mounts might not be doable due to the weight of them so high up. This would need a much stronger tilt servo that makes the whole assembly bigger and heavier.
With this file you will be able to print X-UAV Clouds Compact Pan & Tilt / Pan Only with your 3D printer. Click on the button and save the file on your computer to work, edit or customize your design. You can also find more 3D designs for printers on X-UAV Clouds Compact Pan & Tilt / Pan Only.