X,Y and Z axis 150mm calibration prints
thingiverse
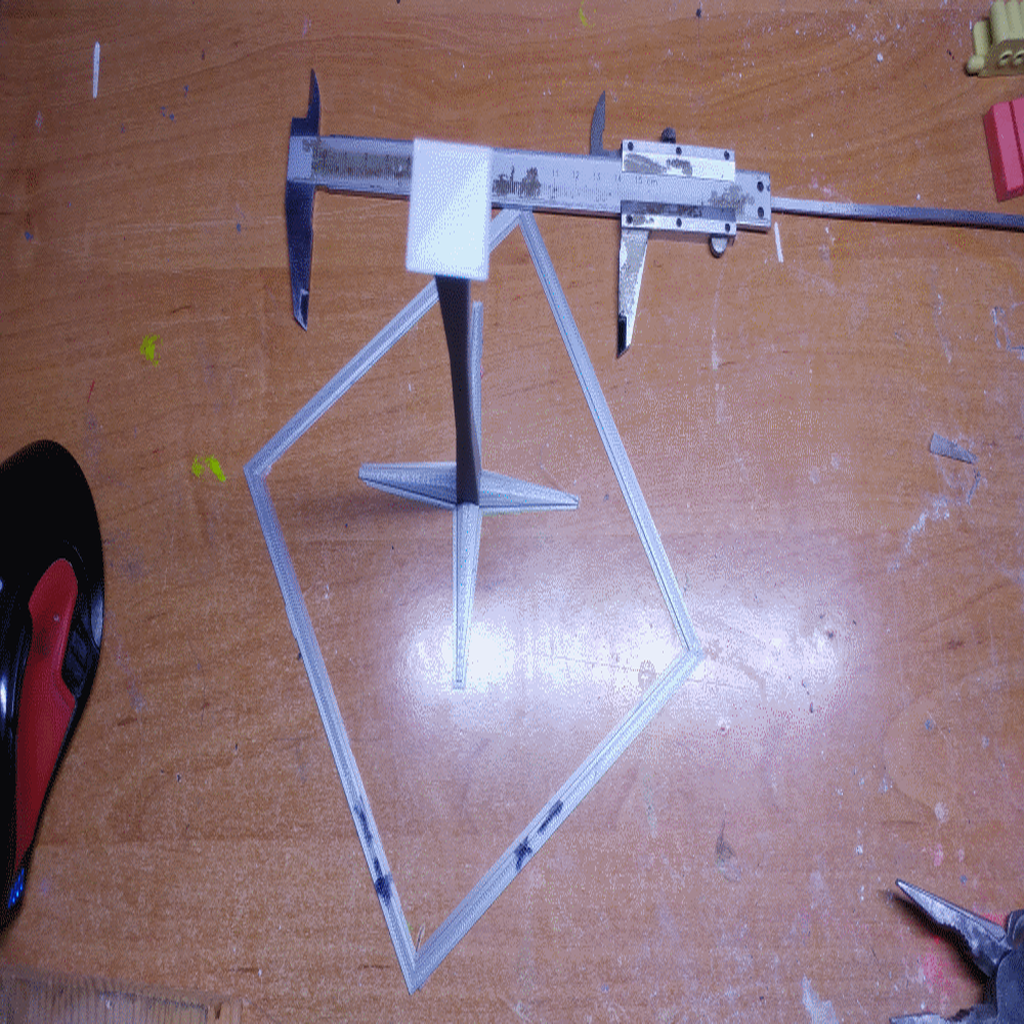
Two precision calibrators for accurate steps per mm calibration are required. They stand at an impressive 150mm, allowing for precise measurement of any potential errors resulting from missteps in steps per mm. This size enables the calibration process to be less susceptible to errors caused by factors like incorrect bed levelling or over/underextrusion, making the overall process more accurate. The calibrators are designed to be smaller than the standard 220mm working area found in many Prusa I3 clones and other printers, avoiding collisions with accessories such as bed glass clamps. Measuring the square's outside edges at 150mm and internal edges at 140mm ensures precise calibration: measuring it while still attached to the bed prevents bending, and measuring each edge from corner to corner prevents any potential angle issues. To calculate new steps per mm, simply multiply old steps per mm by 150mm/measured length. The tower's flat top is located 150mm from the bottom side, allowing for precise measurement after removal. This calibration method offers a balance between accuracy and filament/time usage, using approximately three times the amount of filament required for a standard 20mm cube while providing improved accuracy. It is highly recommended to perform this test on a well-levelled bed and after adjusting extruder steps/mm by marking off a known distance from the hole in the filament and measuring again. To ensure ideal results, use 100% fill rate when printing the XY square, although lower rates can be used; the thickness of the square is designed for easy measurement, and the Z tower can be printed at 15% infill. The legs provide stability without excessive material usage, similar to a raft. If your bed becomes difficult to level or appears to have unevenness despite thorough screw tightening, inspect the bed and frame for any signs of bending caused by thermal expansion and contraction combined with spring tension. A bent H-frame can cause linear bearings to grind and vibrate, resulting in poor print quality and excessive noise. This calibration method is specifically designed for horizontal expansion equal to 0 or slicers that don't have it, such as Cura 14.07.
With this file you will be able to print X,Y and Z axis 150mm calibration prints with your 3D printer. Click on the button and save the file on your computer to work, edit or customize your design. You can also find more 3D designs for printers on X,Y and Z axis 150mm calibration prints.