Xnaron Magnetic U-joint option for Rostocks
thingiverse
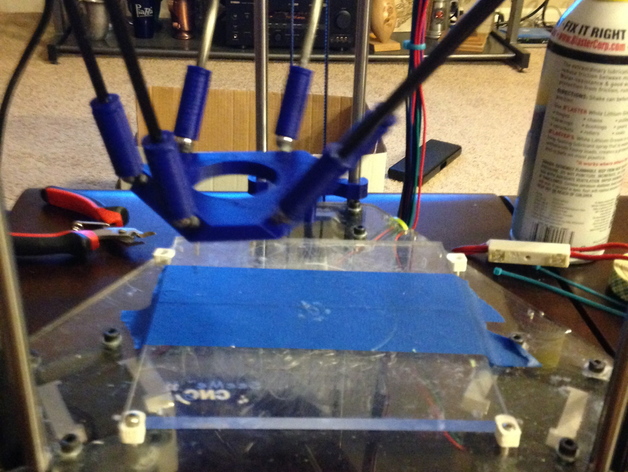
This is a mod of the ever popular Mod for the Rostock MAXes by Xnaron. I designed a LM8UU carriage for the Rostock Mini/Rostock and any other system that works the same as these 2 printers. I have also included all of the important files for the original mod, including the original cheapskate mounts for the MAX, as well as rod adapters for the default Rostock Mini carbon fiber arms. The carriages I created have built in belt retainers that work great, as well as bolt tightened clamps for the linear bearings. http://forum.seemecnc.com/viewtopic.php?f=54&t=1704&sid=512048173d7806425ee0b8a411e75957 - The original thread (post about the jig) This will happen if you don't get all of the arms the exact same length. Build a jig to make them like this http://www.flickr.com/photos/13723140@N04/8771948345/ and http://www.flickr.com/photos/13723140@N04/8771958335/ This is a WIP, I designed this in one day and printed version 1. It seems to work, but I will update and post new files if I find any problems while using this mod. Speed tests:http://www.youtube.com/watch?v=KMixjjFxf1Ihttp://www.youtube.com/watch?v=S7NqfRLNDAg Instructions The default setup is for 3/8 inch carbon fiber or aluminum rods, which can be substituted for 3/8 Crossbow bolts, 3/8 inch chrome steel balls, and 3/8 inch N52 Neodymium magnets. The chrome steel balls are meant to be JB welded or TIG/MIG welded to the heads of 6mm M3 capshead bolts. Be careful if you MIG or TIG weld them, you can easily melt the M3 bolt from the heat, all that is needed is a few tacks. For the Rostock or Rostock mini, print 2 of the boom ends, an effector, and 3 of my magnetic carriages, as well as 12 rod adapters if you have .199" OD Carbon fiber tubes for your arms (I would recommend ABS). Assemble everything according to the instructions in the SeeMeCNC forum thread, and make sure you use the jig mentioned in the description to get consistent length arms, or they can become disconnected mid print For the Rostock MAX print all of the same things, except for my carriages and the rod adapters, unless you want to use .199" CF arms on your MAX. Instead of the carriages, print the Cheapskate 90 degree ballends. The assembly is pretty much the same. It is a good idea to read some of the forum thread to get an Idea of what to do an not to do while assembling, though before screwing the balls onto anything, you should tap the hole with either an M3 tap or by forcing an M3 bolt into it. Make sure not to strip the threads you create in the plastic, this is what keeps the ballbolts secured. Also, try to avoid putting torsion strain on the JB weld, It probably will break, AKA, dont twist the balls on by hand, especially if they are resisting threading into the hole. use a small pair of needle nose pliers instead.
With this file you will be able to print Xnaron Magnetic U-joint option for Rostocks with your 3D printer. Click on the button and save the file on your computer to work, edit or customize your design. You can also find more 3D designs for printers on Xnaron Magnetic U-joint option for Rostocks.