XTOOL D1 Drag chain fixtures and cable management
thingiverse
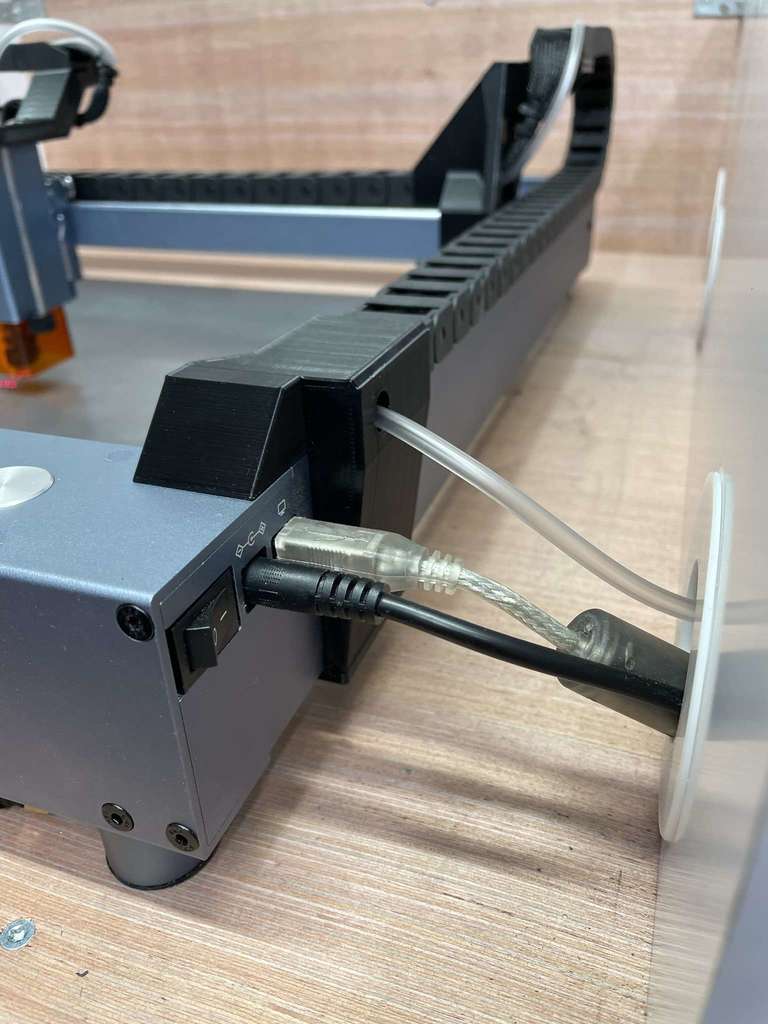
Prevents XTOOL D1 cable damage Here’s my take on adding drag chains to the D1. Chains eliminate the risk of burning or tearing wires during laser operation. The engraving area is not affected by this modification. WARNING: Extending stepper motor and laser wires by extension cables (or, as I did, by soldering in equal length of wire) is required. You need to be familiar with electronics and mechanics to add these drag chain holders to your XTOOL D1. If you are not proficient in electronics and mechanics, you should NOT attempt to do this modification as you then risk damaging your machine! Except from extending wires, no other modification to the machine itself is required as everything is clamped/snapped onto the frame.You will need two new, 10mm longer M3s at the laser head, ten new 10mm long M3s for clamping as well as a single M3 nut to clamp the X holder. The chain inner size is 20x10mm and can be purchased from Amazon. I bought two one-meter lengths. I recommend to use purchased drag chains, as 3D printed chains may have some friction and therefore may affect engraving quality. The laser head wires need to be extended by about 400mm and the X motor wires by 150mm or so. The exact lengths should be checked carefully depending on drag chain lengths. The pictures show the parts, as well as suggested print bed layout and more importantly, part orientation on the print bed. The complete printed set requires 45 meters of 1.75mm PLA filament and prints in about 10 hours. https://www.youtube.com/watch?v=2Wbi9xThqnA
With this file you will be able to print XTOOL D1 Drag chain fixtures and cable management with your 3D printer. Click on the button and save the file on your computer to work, edit or customize your design. You can also find more 3D designs for printers on XTOOL D1 Drag chain fixtures and cable management.