xyzprinting table for use of MK2B or MK3 heat beds and glass
thingiverse
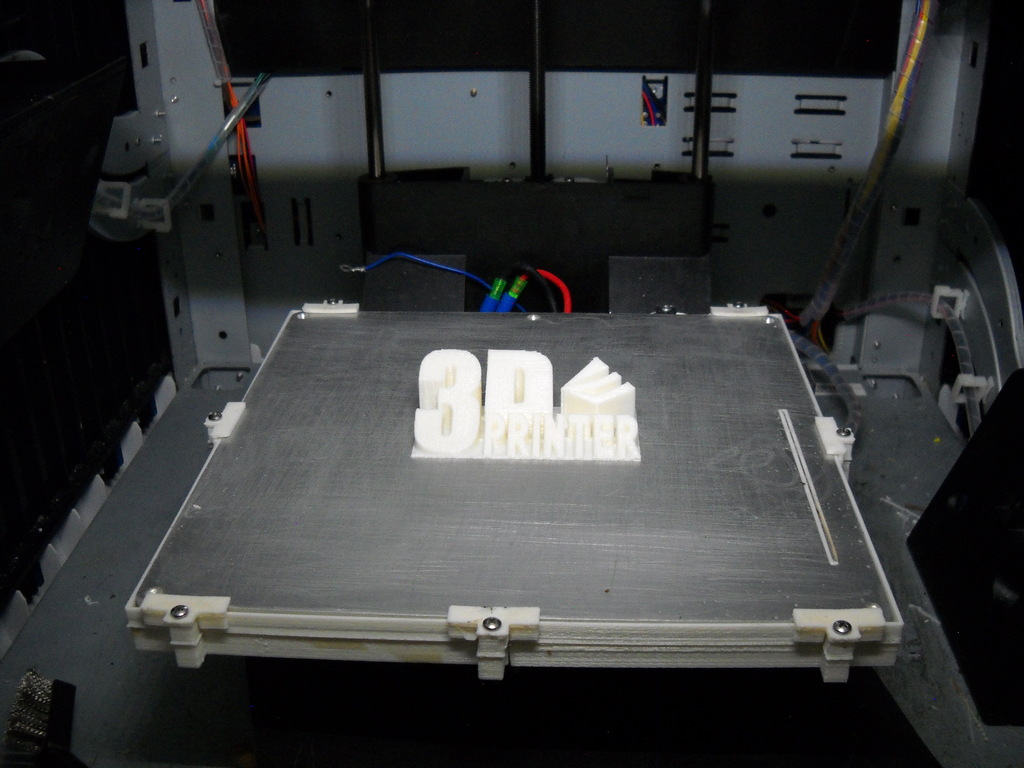
XYZPrinting Table for MK2B or MK3 Heat Beds and Glass ============================================== 214x214 and 220x220 Sizes Available ----------------------------------- This table was created by request, as I didn't need to upgrade my printer. I have plenty of new replacement heat beds, but finding a piece of 211x211 glass specifically for the XYZ printer is impossible. This is when to upgrade to standard size bed. You can remove the heat element from your XYZPrinting bed and place a piece of paper on top, as shown in previous instructions, or purchase the standard size glass bed and use your old heat element. Two sizes are available: 214x214 and 220x220. I made the first table for 214x214 and purchased a 214x214 aluminum heat bed but was sent a 220x220 heat bed, so I had to order another 214x214 heat bed to check the fit. To ensure you get the right 214x214 bed, make sure it has MK2B in the title. Even if it says MK3 214x214, chances are they will send the wrong bed. However, the 220x220 bed will work in the XYZ printer, which is probably the maximum size that will fit. You can use either the aluminum plate or purchase a separate heat element and glass. These instructions apply to both 214x214 and 220x220 sizes. The table was designed to accommodate a 2mm piece of cardboard for the bottom heat shield under the heat bed. Working with Acitone ------------------- I find that a brush works well when working with Acitone. I also have a 3D smoothing pen, which I fill with Acitone and use to smooth ABS prints. Glueing using Acitone is also effective. Assembly Instructions -------------------- These are the back sides of the bed: * Print bottom side bottom left * Print bottom side bottom right Working with Acitone ------------------- I find that a brush works well when working with Acitone. I also have a 3D smoothing pen, which I fill with Acitone and use to smooth ABS prints. Assembly Instructions (continued) --------------------------------- These are the front sides of the bed: * Print bottom side top left * Print bottom side top right Where the center screw hole is, there is an indentation that fits the two pieces together. Glueing using Acitone is recommended. Next Steps ------------ Now you're looking at this thing from a different view. The names are to match the top with the bottom, but now you're looking at it from a different perspective. Left is now right, and right is now left. Bottom is now back, and top is now front. Print the following: * Top side bottom left: Attach using Acitone to the top back right corner. You'll see an extra glass bolt down. * Top side bottom right: Attach using Acitone to the final space front left corner. * Print 7 glass bolt downs. Drill all holes with a 2.5mm drill bit. Tap the hole in the center of the bed with a 3mm tap and put a screw in with lock tite and grind flush. The Bed -------- I've found that nothing sticks to this stupid thing, including Elmer's purple, hair spray, etc. My old methods are now useless. What I had to do with the 220x220 is take rough sandpaper (about 80 grit) and rough up the surface of the bed. Then, put a coat of polyurethane on it. When sanding, only go left and right then top to bottom. Do not use circular patterns. Let it air cool, then heat the bed up to temp and let cool. This will cure the surface if you do not do this, you will constantly be reapplying. This method is a permanent sticking solution and no need to use anything on top of this. If you get any peeling, just take a paint brush and fill the open spots. I don't know how long this method is good for, but it's probably about the same time as a build tech top, which trust me does not last as long as you think it should for the price. Optional But Highly Recommended --------------------------------- Now pat yourself on the back and go have a beer. Take a break and consult a therapist to figure out what was going through your head and why you got into 3D printers in the first place.
With this file you will be able to print xyzprinting table for use of MK2B or MK3 heat beds and glass with your 3D printer. Click on the button and save the file on your computer to work, edit or customize your design. You can also find more 3D designs for printers on xyzprinting table for use of MK2B or MK3 heat beds and glass .