Y guide - MGN12H linear rails (RedBot)
thingiverse
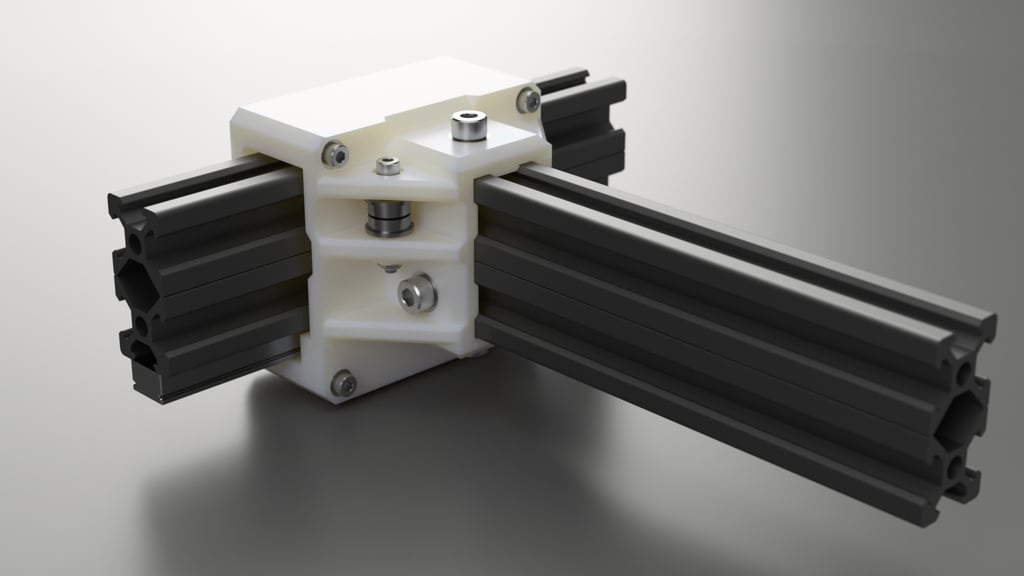
Hello everyone! It's been a while since I last posted something. Let's get back on track! This is my brand-new Y-axis carriage. Now, I'm utilizing MGN12 rails and MGN12H carriages instead of wheels. Also, I've placed them at the bottom of the profile - this setup looks much better to me. #### Where I purchased the rails: - 2 x [MGN12 Rails](http://ali.pub/2ddiy5) (390mm length, holes spaced 7.5mm apart on both sides) - 2 x [MGN12H Carriages](http://ali.pub/2ddjpy) (With an "H" at the end; I highly recommend getting one extra for emergencies) Before assembly, I applied [Castrol LMX grease](https://msdspds.castrol.com/bpglis/FusionPDS.nsf/Files/B215DF5968A78AE680257796002FEFA4/$File/LMX%20GREASE.pdf) to the carriages. #### To assemble one carriage, you will need: 4 pcs - M3x35 screws (or M3x40), for main part assembly 2 pcs - M3x25 screws, for bearings 4 pcs - M3x10 screws, for mounting MGN12H carriage 2 pcs - M3 self-locking nuts for bearings (if you don't have them, regular nuts will do) 4 pcs - M3 regular nuts 10 pcs - M3 washers 4 pcs - M5x10 screws, for aluminum profile 4 pcs - M5 square nuts 4 pcs - M5 washers To mount each rail, I used 4pcs of M3x10 screws with [T-nuts](http://ali.pub/2ddld2).
With this file you will be able to print Y guide - MGN12H linear rails (RedBot) with your 3D printer. Click on the button and save the file on your computer to work, edit or customize your design. You can also find more 3D designs for printers on Y guide - MGN12H linear rails (RedBot).