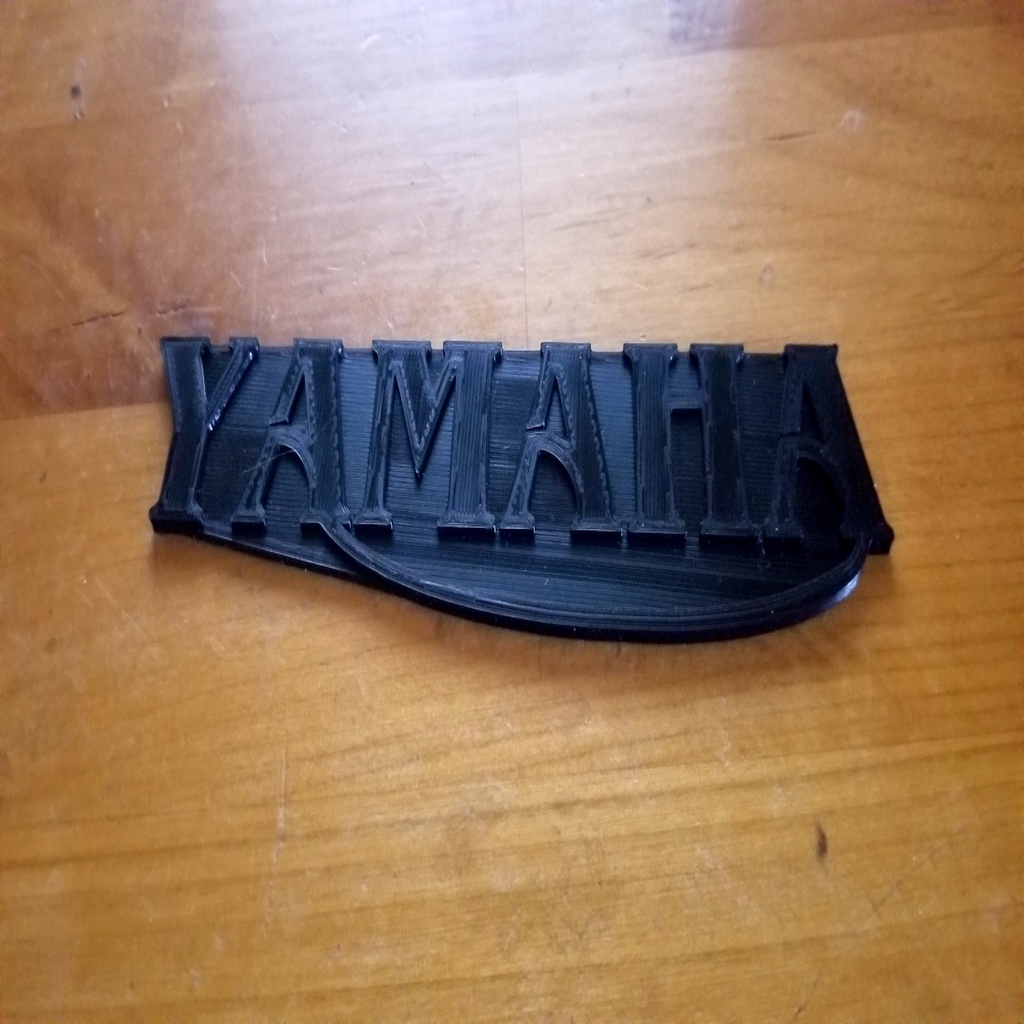
Yamaha Swoosh Logo for XS650 and Others
thingiverse
I own a 1980 Yamaha XS650. The right-side tank logo is missing the lower left corner, and has been since I got the bike. I planned to buy OEM replacements, until I saw a T-shirt with a rather cool alternative logo that borrows design elements from the standard Triumph logo. I created from scratch my own version of that logo, somewhat different than the one on the shirt. So to be clear: This is NOT any trademarked Yamaha logo, but an original creation. It's not copied or "traced" from the T-shirt photo I saw (honestly, that's too hard anyway) but created from scratch by me. It's 2.8mm thick, possibly a bit thinner than would be ideal, but I think I'm going to go with it and see how it holds up. No, there are no holes; drill them the old-fashioned way. 3D printed items sometimes shrink a bit, so measuring and drilling seems smarter. The best approach is to print this logo with black filament, sand the tops (faces) of the letters and the "swoosh," then paint them with gold paint; this will echo the original color scheme. I'm printing this in PLA. Your mileage may vary. Fitting the flat print to the curved tank is easy... hit it with a heat gun and the PLA goes floppy. Lay it inside the original logo, then run cold water over it to set it. EDIT -- see below for notes The logo is laid out at an angle, to fit on 3D printers with small plates. Yamaha used the same logo found on my 1980 XS650 on several other years and models, so this logo may be usable elsewhere, though I'd argue that the specific design is especially relevant to the XS650 as it's kind of a clone of British bikes like the Triumphs of the 60's. ADDED NOTES: -- Some PLA shrinks quickly if heated. I was able to put the logo on the bike without heating it. -- Be careful marking and drilling the holes; a small error means a hump in the logo. Don't ask how I know. -- The paint shown in the photo was applied using a brayer (ink roller). I used ordinary craft paint, squirted a small amount onto a hard surface, and rolled it out. But it's too thin, so after letting it get tacky I applied more. It took at least three tries to get the right sticky non-runny consistency. After applying it carefully with a thinly-loaded roller, l let it dry completely before applying three coats of a urethane protectant with UV blocking. It was not as easy as I hoped, but it looks fantastic.
With this file you will be able to print Yamaha Swoosh Logo for XS650 and Others with your 3D printer. Click on the button and save the file on your computer to work, edit or customize your design. You can also find more 3D designs for printers on Yamaha Swoosh Logo for XS650 and Others.
