Yamaha Tenor Sax YTS 280 Case Wheels
thingiverse
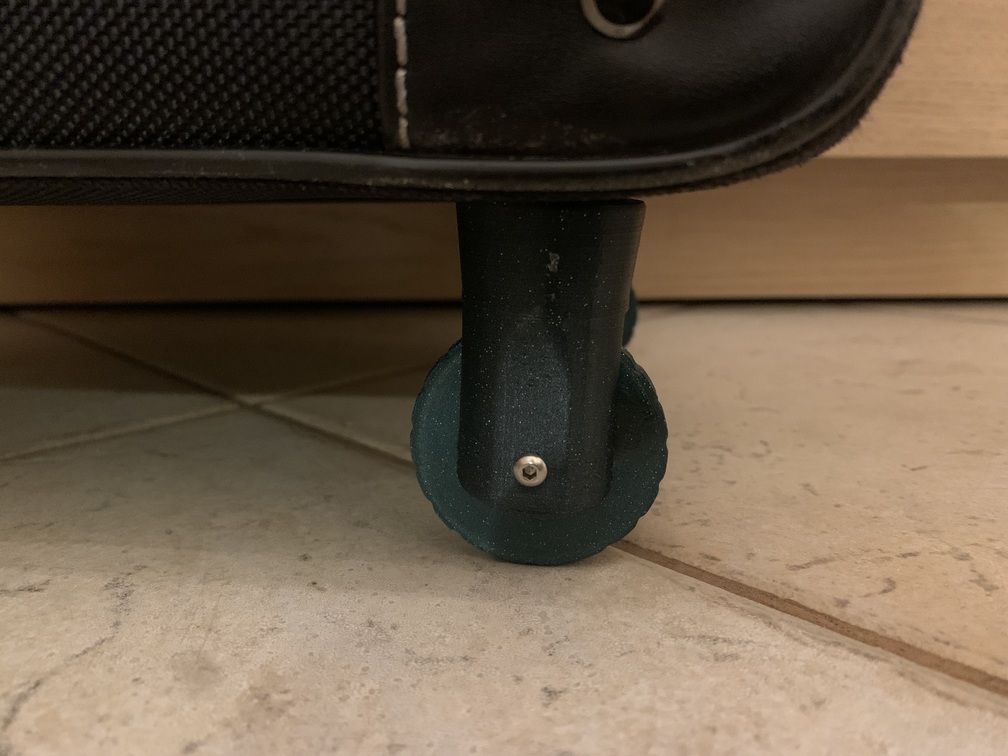
UPDATE: 27/1/2023 Added Tenor Sax Wheel V2 as well as Tenor Sax Wheel Blocker V2 *I HIGHLY RECOMMEND THESE.* The wheels are vibration absorbent and smooth now, and the blockers make the wheels stay on now instead of just the bearings. *GLUE THE WHEELS ON TO THE BEARINGS - THEY ARE MADE ABOUT 0.05 MM BIGGER THAN THE BEARINGS FOR TOLERANCES.* These are the files for wheels that I made for my student tenor sax case. Assembly (when done printing): 8x M3 screws 4x each file printed 1x Super glue (gel or liquid) 4x 608zz bearings 1x lighter is useful 1x pair of pliers is useful 1x hammer is useful 1. Screw 1 M3 screw into the back of each Tenor Sax Wheel Connector (not the small part that connects to the bearing - the side that is in the first picture) 2. Press a ball bearing into each Tenor Sax Wheel (you may need a lighter to warm the wheels so that you can press the bearings in - you also may need pliers or a hammer to press them in) 3. Press the wheels onto the ball bearing connector on the Tenor Sax Wheel Connector (small part that sticks out referenced in step 1) 4. Screw 1 M3 screw into the less filleted end of each Tenor Sax Wheel Blocker (it is ok to screw it into either end but preferred to screw into the less filleted end) 5. Screw the screw on the Tenor Sax Wheel Blocker into the wheel side (side without the previous M3 screw) of the Tenor Sax Wheel Connector 6. Super glue each wheel to each foot on the case the way that is most comfortable to you.
With this file you will be able to print Yamaha Tenor Sax YTS 280 Case Wheels with your 3D printer. Click on the button and save the file on your computer to work, edit or customize your design. You can also find more 3D designs for printers on Yamaha Tenor Sax YTS 280 Case Wheels.