Z-Axis Adjuster and Dial - Ultimaker
thingiverse
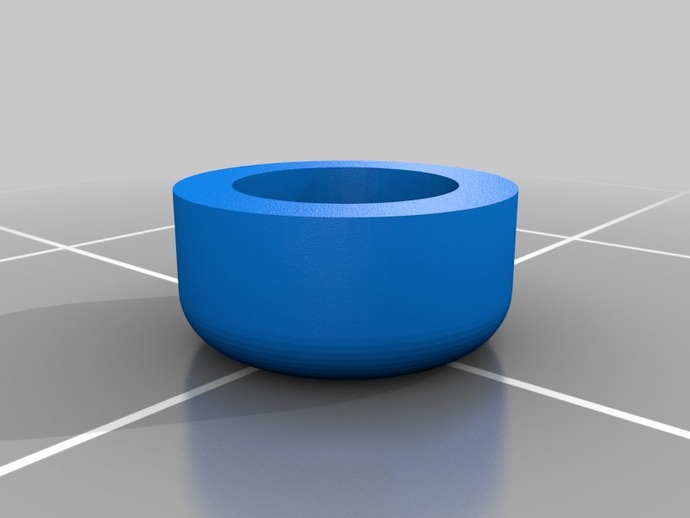
This is a derivative of scottmayson's Z-Axis Adjuster for the ultimaker (thing 19912). I found that the original z-axis adjuster body was a little too short for the full adjustment range for my Ultimaker, so I lengthened the body by 10 mm. The other parts are all the same. Since I am not yet adept at modelling, I just used netfabb basic to cut the original model into 3 parts and elongated the middle body part. After aligning the three parts, I exported each of the STL's from netfabb, imported them into Meshlab, combined them into one mesh and simplified the mesh. As a final step I sent the whole thing to the Netfabb cloud service for cleaning (http://cloud.netfabb.com/). Instructions These instructions are copied directly from scottmayson's thing: Print & Tap an M4 thread into the top of the body. Press the dial-cap onto the end of an M4 SS bolt and enjoy adjusting the z-axis. The tear drop displays the amount of rotation the nut has gone through.
With this file you will be able to print Z-Axis Adjuster and Dial - Ultimaker with your 3D printer. Click on the button and save the file on your computer to work, edit or customize your design. You can also find more 3D designs for printers on Z-Axis Adjuster and Dial - Ultimaker.