Z-Axis Stabilizer
thingiverse
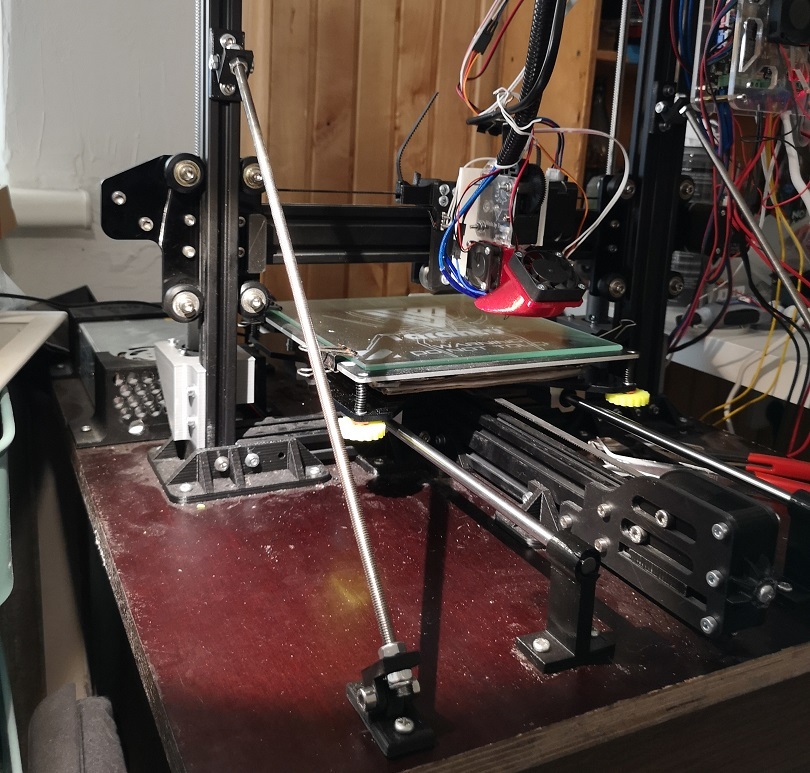
I was in desperate need of a simple yet effective solution to stabilize my tarantula's Z axis, especially when my Y carriage is moving at top speed. Unfortunately, the models I found online were either too complicated or inflexible, lacking adjustability and often boasting questionable designs that prioritized aesthetics over functionality. I sought something straightforward and dependable, rather than a flashy but potentially fragile contraption. Fortunately, this design delivers exactly what I needed: a sturdy stabilizer that can effectively counteract wobble in both directions (push and pull) while occupying minimal space and printing quickly. To maximize its performance, I highly recommend printing it with three walls for enhanced layer adhesion and incorporating honeycomb structures for added rigidity. To assemble the stabilizer, you'll need the following parts per side: * 2 x 20mm M5 bolts * 2 x M5 nuts * 4 x M6 nuts (or 2 x M6 nuts with nylon rings) * M6 thread of desired length * 2 x Parkers * 2 x M4 bolts * 2 x T-Nut M4 For optimal performance, I suggest installing the stabilizer at a 45-degree angle and positioning it at least halfway up on the Z axis. As you install the feet first and ensure they are securely tightened, measure out the rod and loosely attach the arms to both ends. Mount the stabilizer on the feet and then adjust the rod with the nuts to your specifications before tightening. After installation, be sure to measure your Z-Axis carefully and make any necessary adjustments until it is perfectly stable.
With this file you will be able to print Z-Axis Stabilizer with your 3D printer. Click on the button and save the file on your computer to work, edit or customize your design. You can also find more 3D designs for printers on Z-Axis Stabilizer.