Z-axis Stabilizer for Ender 3 S1 Pro
thingiverse
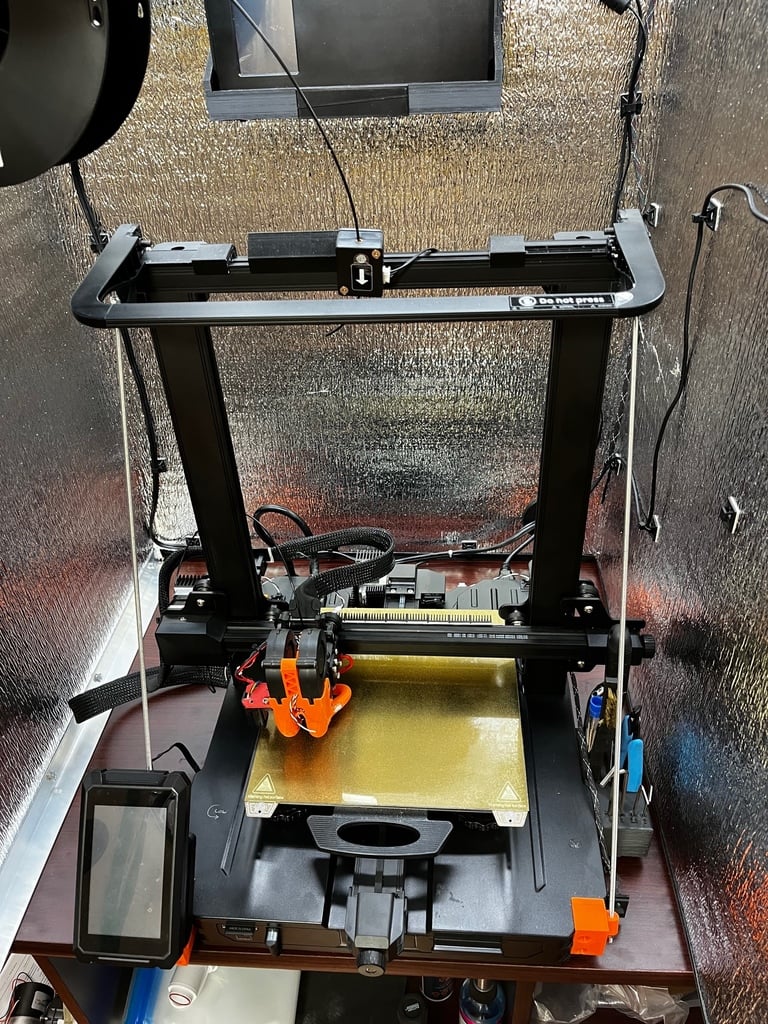
I liked the aftermarket Z-axis stabilizer by p1mrx, but the front mounts didn't fit my Ender-3 S1 Pro, and the rear mounts were too unstable. I redesigned the mounts to fit my frame (which appears different from the one the designer has), and added additional stabilization to the rear mounts. The increased rigidity is noticeable with the extruder at the height limit.. Points to ponder: 1- the rear mounts now have additional bracing. The one on the right fits around the power switch. The necessary cutout weakened the base, so I doubled the bottom. Depending on where Creality slapped on the foot on that corner, you may need to make a small notch for clearance (one of my machines needed it, the other did not). 2- the left & right front mounts are close together in one file to make printing easier. 3- the original designer called for "ringing" the rods to match tension. I must be tone deaf, cause I couldn't make out anything. I therefore recommend working one side at a time, alternating tightening front & back, until the threaded rods are moderately difficult to twist with fingers. Then match the other side. The idea is to provide additional rigidity, not clamp the uprights. 4- don't overly tighten the rear crossbar; it will pull/slide the rear mounts further back, and could cause cracking of the right switch cutout, or the switch itself. The idea is to prevent forward movement, so tighten the crossbar just until there is no side-to-side play, then stop. 4- the original top braces are cleverly designed, and a tight fit. You may need some after print sanding to get them to slide into place. Don't force the issue, but at the same time don't make the fit loose, or you'll ruin the idea. Also be sure to replace the original screw with one that is 2mm longer. Don't use the screw to seat the brace, you'll just strip the aluminum extrusion and create more work for yourself. 5- the LF_Mount_V2 has an addition to allow mounting a Raspberry Pi in landscape mode (see https://www.thingiverse.com/thing:5566269). Don't use to move the original LCD screen as it will interfere with the bed at its forward limit, unless you displace the screen further left. Finally.... There is a lot of opinion out there about increasing the z-axis rigidity. You read of people warning that it causes excess side loads on the z-axis screw and stepper. Speaking from an engineering point of view, the arguments are not valid. For one thing, if your lead screw is so far out of whack that you need flexibility in the upright supports to prevent stress... you have more significant issues than just added z-axis stability. Secondly, if you plan on using Klipper, note that the accelerometer is calibrated X & Y with the z-axis near the bottom end, where the machine is naturally more stable. You really should test it near the top, and that is going to introduce additional factors & complicate matters. The best way to make the data valid thru-out the range of the z-axis is to provide additional rigidity to minimize the difference. I haven't had a chance to print a really tall project and compare the difference, but would love to hear about the experience of others.
With this file you will be able to print Z-axis Stabilizer for Ender 3 S1 Pro with your 3D printer. Click on the button and save the file on your computer to work, edit or customize your design. You can also find more 3D designs for printers on Z-axis Stabilizer for Ender 3 S1 Pro.