Z-endstop shim for Witbox + FlexPlate
thingiverse
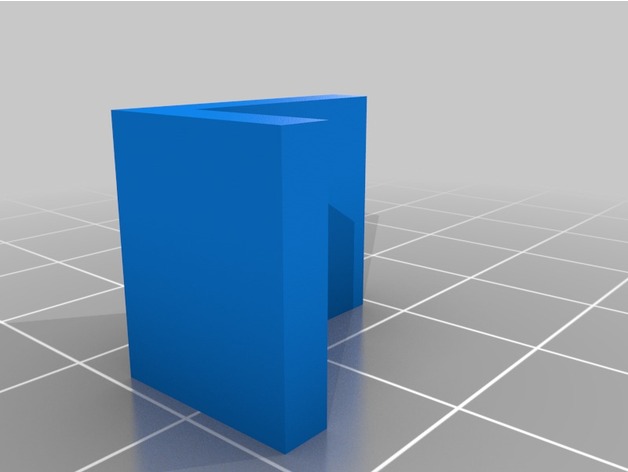
Before installing your BuildTak FlexPlate System on your BQ Witbox, you'll need to install a shim first so the bed can be leveled properly. The FlexPlate System increases your bed height by about 3mm; You will need to compensate for this extra height by adding a shim that adds 3mm of material to the area of the build plate frame which contacts the z-axis end stop. Without a shim, you may find that you cannot tighten your leveling screws enough to keep your nozzle from hitting the bed. Before installing your FlexPlate, run the Witbox's "home axes" routine. As the bed rises up, note the area on the bed's frame which contacts the z-endstop. (The z-endstop looks like a small black square with a metal arm, mounted near the top of the Witbox's back wall.) Once you've identified the area that contacts the z-endstop, it's time to install the shim. Raise the bed to about halfway up the z-axis so you can see the area of the bed's frame which contacts the z-endstop. Mount this shim to the print bed's metal frame using adhesive or glue so that it will contact the z-endstop once the bed finishes rising. Home your axes again and check to make sure the shim contacts the z-endstop. Now you're ready to install your new FlexPlate System!
With this file you will be able to print Z-endstop shim for Witbox + FlexPlate with your 3D printer. Click on the button and save the file on your computer to work, edit or customize your design. You can also find more 3D designs for printers on Z-endstop shim for Witbox + FlexPlate.