Z height test (.25mm)
thingiverse
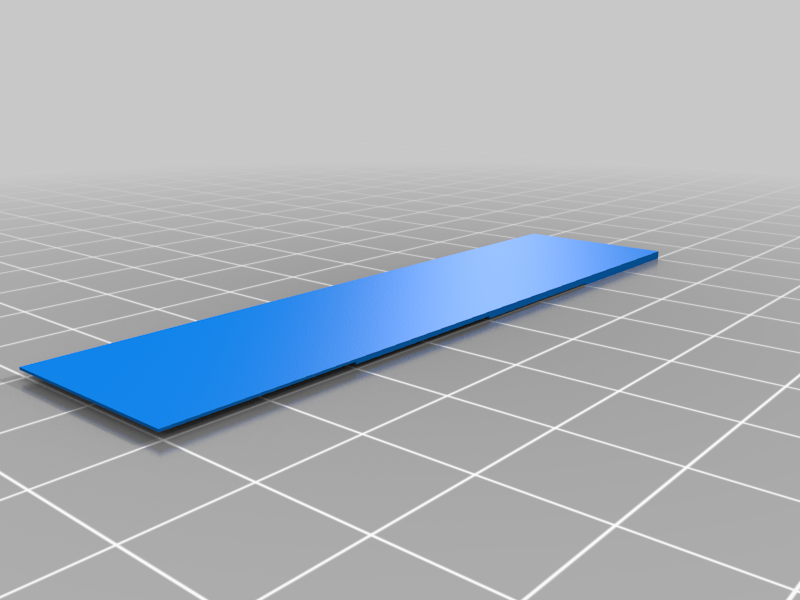
This is a calibration print to help find the correct z height for your printer! I designed this specifically for any printer with a .5mm nozzle (but you can use it on others if you want!) please make sure that you have both your layer hight and initial layer height set to .25mm! And make sure you rotate the print upside down so that you see the different thickness squares on top. Step one. Select layer hide and initial height to be .25 mm Step two. Print the file. (Live adjust the z offset if needed ( if the lines aren’t touching and have gaps and you need to raise here’s the offset. if they are touching, have gaps and a rough surface.then you need to lower the offset.) Step three once the bed has cooled below 40° remove the print otherwise you will warp the part. Step 4. Measure each tho knees of each section. ( they should increment in .25mm starting at .25mm) Step 5. Math, plug in your current z offset into this calculator. https://www.layerfused.com/3d-printer-calibration where it says “current steps”, then plug in the expected value (.25,5,75 or 1). Then plug in the measure value. Step 6. Average out the new z offset and then apply the new averaged number, NOTE: I am not responsible for any damages to your printer if you over or under-adjust your z offset! please print at your own risk!
With this file you will be able to print Z height test (.25mm) with your 3D printer. Click on the button and save the file on your computer to work, edit or customize your design. You can also find more 3D designs for printers on Z height test (.25mm).