Z offset calibration print
prusaprinters
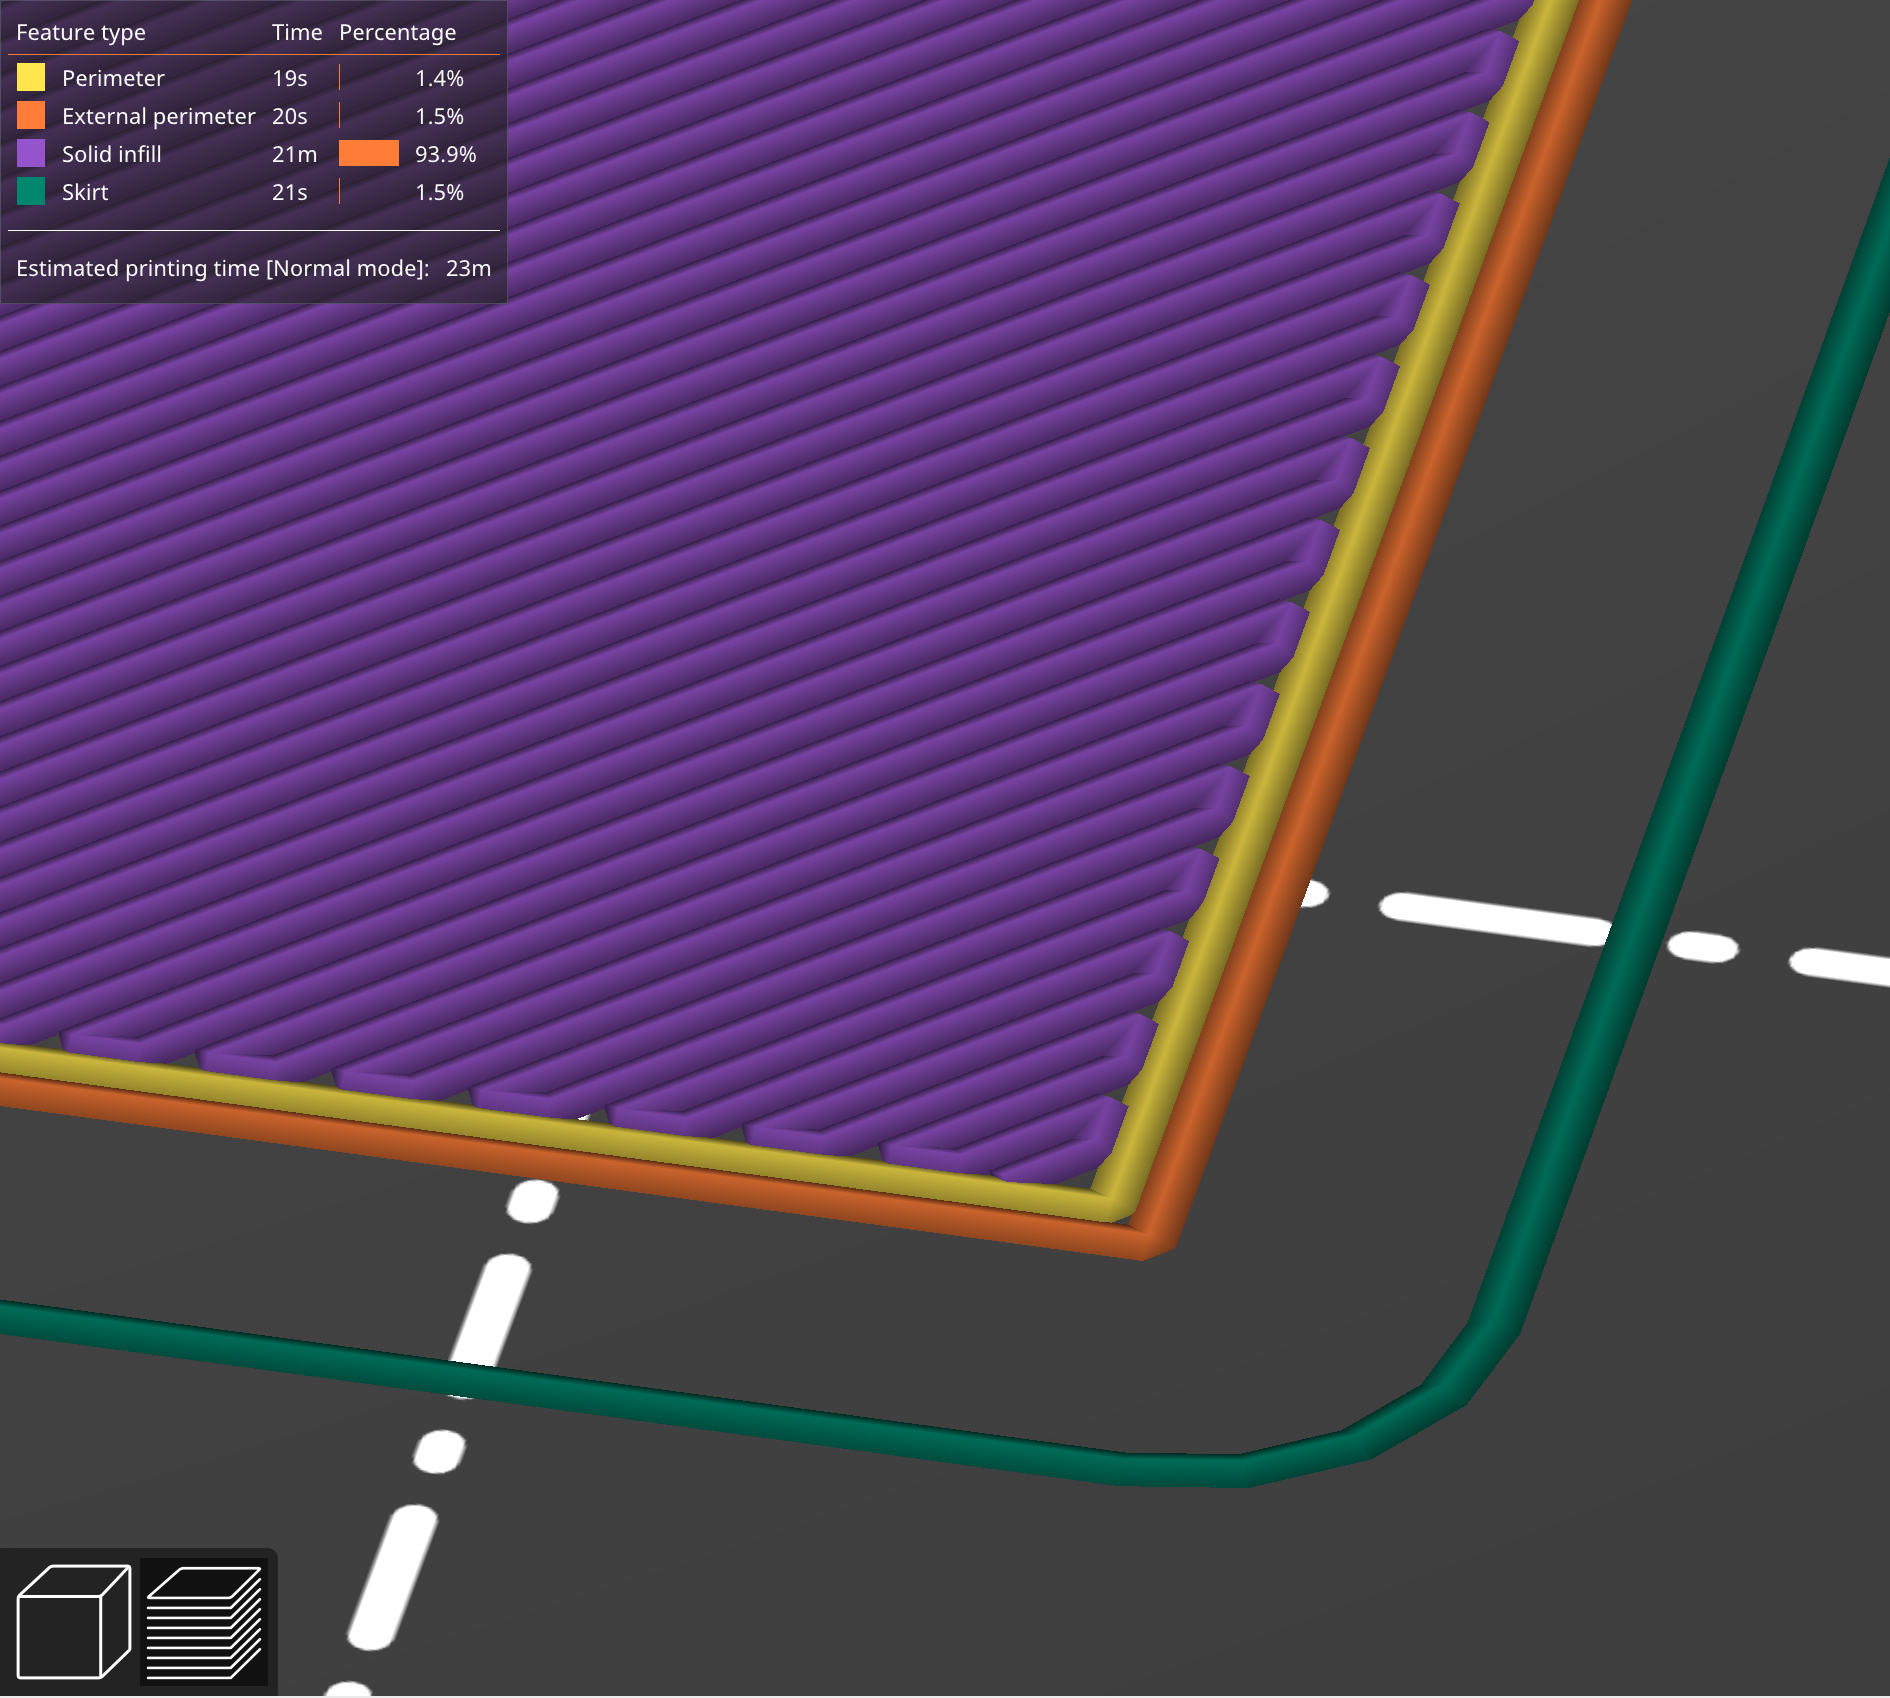
<p>Nothing more than a square, 0.2mm high so it prints a single layer. I use this for setting the Z offset. The printer's own Z offset is good, but it can be a challenge to get the height just right if you haven't done it a bunch of times already. I find using a solid infill test part helps immensely.</p><p>Start with the printer's own Z offset test if you haven't already, you want to be in the right general area. Load up this model and start the print. The skirt and the two outer perimeters should print well, but what we're really looking for is how the infill behaves.</p><ul><li>Gaps or low spots between the lines? Drop your Z height.</li><li>Plastic “smooshing” up between lines? Raise your Z height.</li></ul><p>Your goal is to get the top surface <i>flat</i> - but remember if it was too low and was smooshing up a bit of plastic, it can take a couple passes before an adjustment is seen, as that extra plastic throws off subsequent lines. If you were getting a bunch of smooshing, you can raise it a bit for a line, then back it down to where you thought it should be.</p><p>Ultimately, you're looking to get the top layer as smooth as you can. Once you get it where it runs several adjacent lines and doesn't have any valleys or ridges, that's your Z offset. Once you're happy, you can cancel the print.</p><p>Three sizes - 100mm, 75mm and 50mm. Only difference is how long it'll take to print and how long you'll have between each subsequent line to make adjustments and see how they affect the print quality. Start with the 50mm and if you feel like you need more time to make adjustments.</p>
With this file you will be able to print Z offset calibration print with your 3D printer. Click on the button and save the file on your computer to work, edit or customize your design. You can also find more 3D designs for printers on Z offset calibration print.