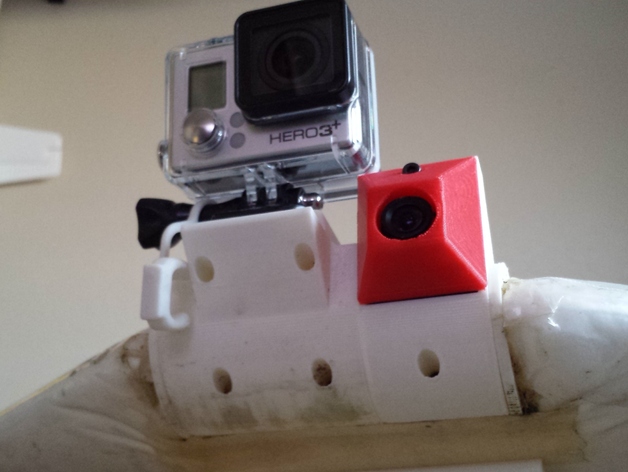
Zephyr II Modular Camera mount
thingiverse
Fix your broken camera mount after a crash by creating a new, modular design. This allows for easy replacement and attachment of different camera mounts without needing to re-glue. Requires 6 M3 nuts and 6 M3 screws; length depends on the chosen mount. Attach the modular cam mount to your wing using super glue and leave the screws in place for stability during gluing process. Once dry, remove the screws but they will likely remain in place due to the glue. This design includes a CCD mount for a readymade RC 600TVL camera and a GoPro clip mount for added protection. Feel free to modify or add more mounts as desired. Share feedback on this design for future improvements. Sample video available for reference.
With this file you will be able to print Zephyr II Modular Camera mount with your 3D printer. Click on the button and save the file on your computer to work, edit or customize your design. You can also find more 3D designs for printers on Zephyr II Modular Camera mount.