Zesty Nimble Delta Effector & Carriages For Trick Laser Arms
thingiverse
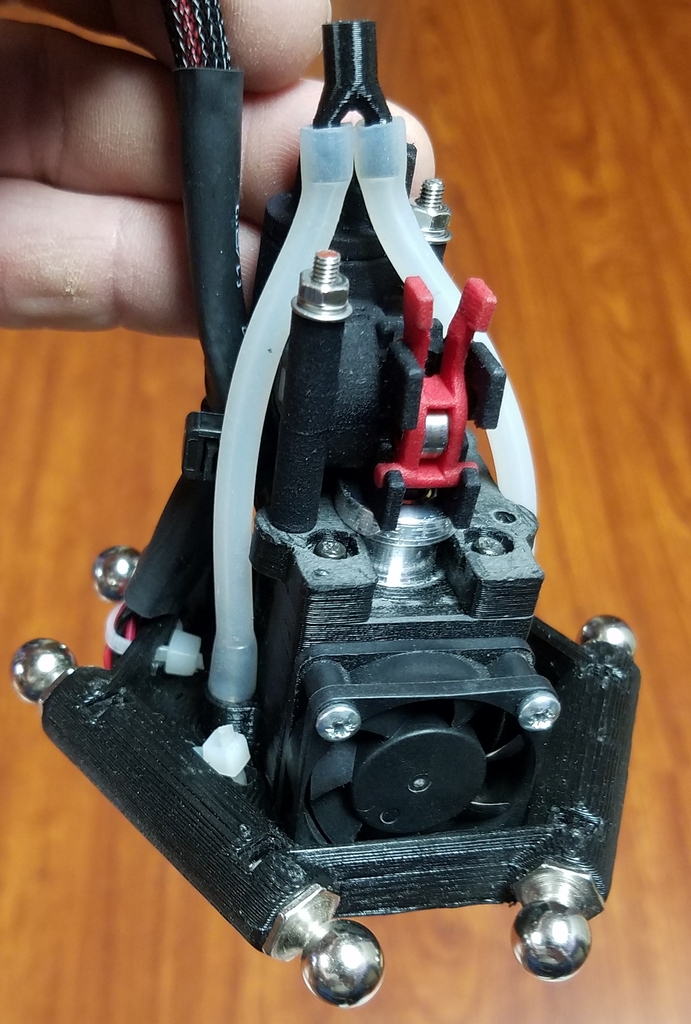
Edit: Uploaded a version with 80mm ball spacing & for 9mm belts for larger deltas. https://www.thingiverse.com/thing:3739808 Edit: Added Carriage belt wedge and Carriage tensioner STL's &.STEP files I forgot to include. Newer version of my Zesty Nimble effector and carriages for Trick Laser ball cup arms, E3D V6, and 20mm V slot. It has provisions for 2 air tubes for part cooling with an air pump. It is designed for maximum Z height and least nozzle tilt due to effector tilt and the Nimble mount can be used for either right or left hand mounting. I have included both STL and STEP files. Printed with a 0.6 Nozzle, 0.8 extrusion width, 0.3 layer height. Printed with Atomic Filament CF PETG, regular PETG was a little too flimsy for me although I would think PLA would be sufficiently stiff. Note that you cannot use the lower 2 hot end cooling fan screws due to insufficient clearance, but the top 2 are sufficient as I have been using older designs for a long time with just the top 2. I prefer to finish out holes and critical tolerances by hand so they will be a little undersized. You will crack the effector if you do not size the fan mounting holes to at least the minor thread diameter of the fan holding screws, preferably a little bigger than the minor thread diameter. After fitting the holes fit the E3D body to where the bottom of the slot is just even with the top of the effector which should make the bottom of the last fin even with the bottom of the effector. If your print of the Nimble mount isn't smooth on the top and bottom you will want to sand it to a tight fit in the E3D body. Do not over sand, tight but fitting is the key to the hot end being stable. Prep of all parts and fitting of the effector and mount before assembly is necessary. I used 3mm threaded rod and 3mm thin nuts for holding the Nimble to the mount. Cut the threaded rod to length then insert 2 3mm thin nuts into the bottom of the mount and thread the rod into them from the top just enough not to stick out the bottom of the nuts. Insert the E3d body into the effector and slide the mount into the slot in the E3D body lining up the 4 mount mounting holes with the holes in the effector. I used small thin washers with 4 screws designed for plastic threading from some old RC servos I had. Then slide the Nimble over the threaded rod and use 3mm nuts and washers to secure it. Do not over tighten, refer to the Nimble documentation. I designed this with FreeCAD, but the files are a mess and I don't have time to clean them up legibly so I haven't included them. If you really want them or have any questions, hit me up on the Zesty Discord channel. I'm Alexander Mundy (without the underscore I had to use here) on Discord.
With this file you will be able to print Zesty Nimble Delta Effector & Carriages For Trick Laser Arms with your 3D printer. Click on the button and save the file on your computer to work, edit or customize your design. You can also find more 3D designs for printers on Zesty Nimble Delta Effector & Carriages For Trick Laser Arms.