zx82 Ball Speaker
thingiverse
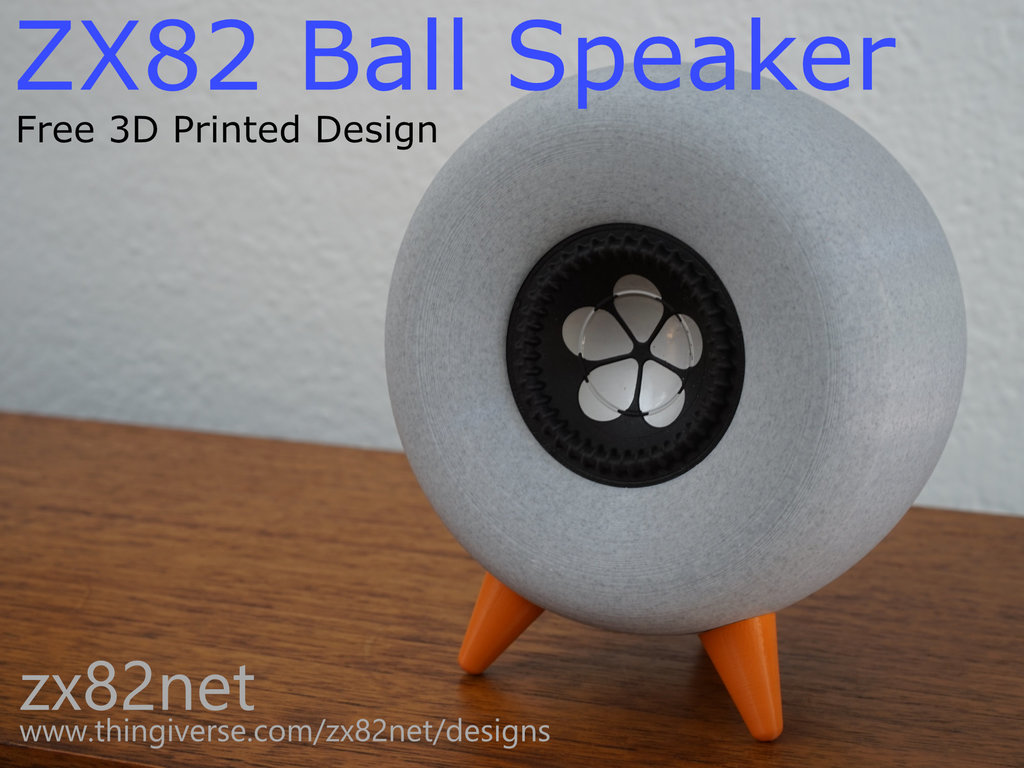
*(Update 3/2/21: fixed mirrored thread on back.stl, new file is called back_1b.stl)* This uses a sealed speaker module from Tang Band; the full range T2-2136SA. It's a very user friendly build, no external circuitry or tuning is required and the quality of the 3D Print is not critical to the sound quality. The usable frequency range is 80Hz to 20kHz. See frequency response and recomended EQ setting in the images. Assembly process and sound demo: https://youtu.be/ThtAFc4vIH0 Check out my other designs for some 3D printed subwoofers which will pair well with these. The three main components are threaded and screw together without additional hardware. The feet should be glued in place, using the studs to locate them. After printing, secure the speaker module into the basket with bluetack, screw the front face onto the basket, clamping the speaker into place. Next, screw the front assembly into the back housing, and attach the feet. If you use spade terminals, you can connect and disconnect the wires with the speaker assembled. If you are going to solder the wires to the terminals, you will have to do it before assembly. When printing the front piece, you can use a filament swap shortly after the start of the print to give you an accent ring around the speaker. In the photos, you'll see I did this with Gold-silk filament. The module is available at Parts Express, here: https://www.parts-express.com/Tang-Band-T2-2136SA-2-Full-Range-Speaker-Module-2-3-4-x-2-3-4-264-938
With this file you will be able to print zx82 Ball Speaker with your 3D printer. Click on the button and save the file on your computer to work, edit or customize your design. You can also find more 3D designs for printers on zx82 Ball Speaker.