Zygen - G305 Shell Swap Mod
thingiverse
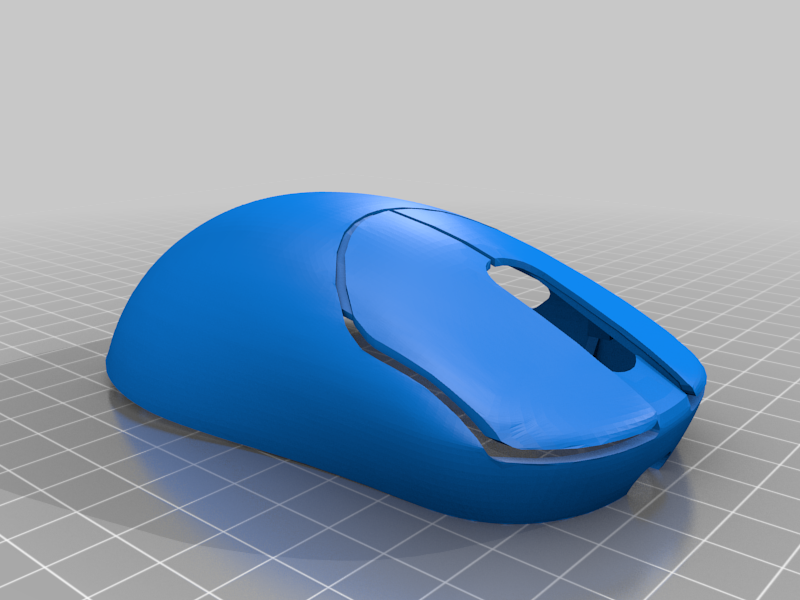
Do you love the Zygen shape, but wish it was wireless like me? Well this ones for you. -- MAKE SURE TO PRINT AT AN ANGLE FOR BEST RESULTS -- THINGS YOU WILL NEED The 3d print A G305 A rechargable AAA battery (rechargable via USB C) A 4 inch female to male micro USB cable Hot glue or superglue INSTRUCTIONS: First print the shell (Top shell, bottom shell and side buttons are the only necessary components. The "support post" is optional for less flex on the top shell). The first thing you will need to install is the cable. Go ahead and get a set of these: https://www.aliexpress.com/item/4000314458731.html?spm=a2g0o.search0304.0.0.13e36b6dmyoMcw&algo_pvid=90ea933e-2a29-4be0-a819-d7633c4e93cb&aem_p4p_detail=202205151855172372713628438080020201330&algo_exp_id=90ea933e-2a29-4be0-a819-d7633c4e93cb-0&pdp_ext_f=%7B%22sku_id%22%3A%2210000001296480182%22%7D&pdp_npi=2%40dis%21USD%21%212.61%21%21%21%21%21%4021086d9416526661168613194e5b27%2110000001296480182%21sea Once you have the USB C pcbs, get two wires about 4 inches in length and solder up the pcbs. then insert the female end into the bottom shell. (Alternatively you could use the enncoo ModKit, so instead of soldering to the male pcb you could use the wires included with the ModKit: https://enncoo.com/products/enncoo-modkit-for-mouse-modding). After the cable has been ran, you can install the main G305 pcb. Install that onto the bottom shell, but dont be afraid to push the pcb onto the shell. MAKE SURE TO RUN THE CABLE UNDER THE PCB WITH THE END EXPOSED). Now you can install the left and right click switch pcbs and the side button switch pcbs. There are 4 screw posts towards the front which to mount the left and right switches. Next, depending on if you chose the ModKit or not, you can install the battery. If you chose to use a rechargeable battery, then i recommend using this mod from MatNS: https://www.thingiverse.com/thing:4725120. You can install the battery from here, BUT MAKE SURE TO PLUG IN THE CABLE RAN IN THE FIRST STEP. OPTIONAL: from here you can install the support post. The post goes into the hexagon right behind the scroll wheel, then you'll have to glue that in place. Then you will need to install the side buttons into the top shell. Slide them into place and glue those. Finally you can install the top shell. For this mod, the holder for the female USB C port slides into the front of the top shell. OPTIONAL: You may have noticed "Reinforced Holes" variants of the top shells. These are for resin prints... or if you are anxious about stripping the holes like I am. For these models, you will need M2-0.4 Metric Hex Nuts (4 of them) along with M2-0.4 Screws (4 of them as well). the length of the screws needs to be at least 4 mm. once you have the nuts and screws, insert the nuts into the top shell inserts and install the top shell onto the bottom. Now you have your wireless Zygen! WEIGHT FDM: ~70g FDM Ultralight: ~65g Resin: ~75g Resin Ultralight: ~70g Give or take a gram depending on which parts are used. For example if you find a lighter battery.
With this file you will be able to print Zygen - G305 Shell Swap Mod with your 3D printer. Click on the button and save the file on your computer to work, edit or customize your design. You can also find more 3D designs for printers on Zygen - G305 Shell Swap Mod.