 prusaprinters
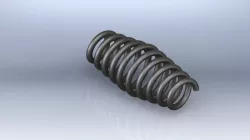
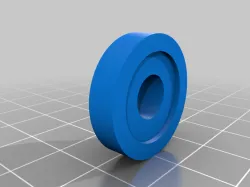
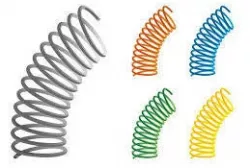
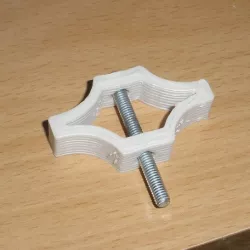
Springy springs
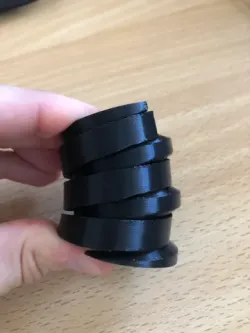
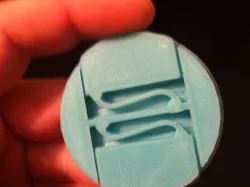
A pair of springs printed in place together sliding through each other.After printing y...
prusaprinters
A pair of springs printed in place together sliding through each other.After printing y...
 grabcad
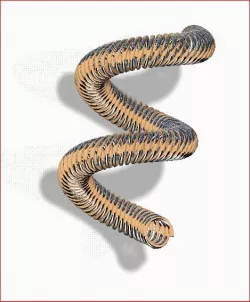
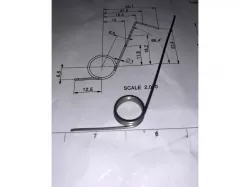
http://grabcad.com/questions/tutorial-how-to-make-a-springy-spring Same to Model with T...
 grabcad
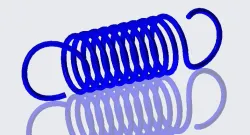
This is a spring which is rotating on a profile of a spring. A tutorial is also availab...
 grabcad
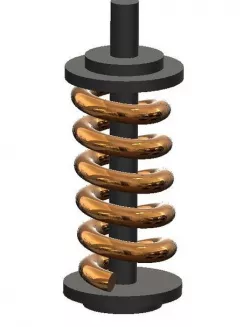
This is a demonstration of a way to have springs in your assembly actually move and loo...
 thingiverse
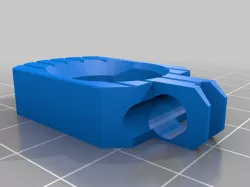
This is a mount for putting springs directly on the axle,separating them from the shock...
 grabcad
Part of a Bike front end suspension
 SPONSORED
Crypto traders are betting big. Will BTC hit the milestone?
 grabcad
Springy Spring with variable diameter
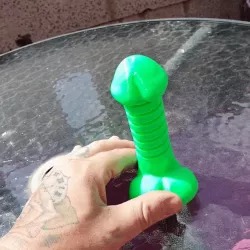 cults3d
Spingy penis model. Works really well stuck on the car dashboard as you could imagine! ...
 thingiverse
Customized version of https://www.thingiverse.com/thing:1690305 Created with Customize...
 thingiverse
Customized version of https://www.thingiverse.com/thing:1096880 Created with Customize...
 thingiverse
Print in 30D TPU 4 walls 90%infill
 thingiverse
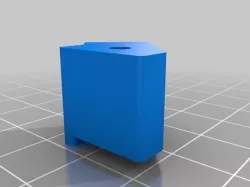
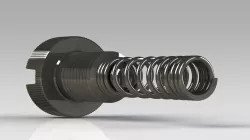
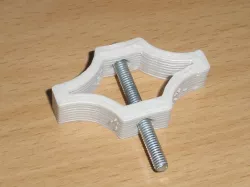
Remixed the spring retainer for the 1/3 scale LS3 engine so that commonly available 11m...
 thingiverse
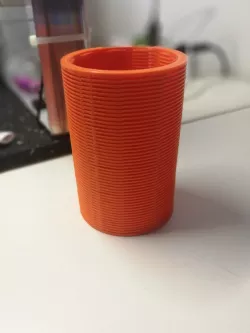
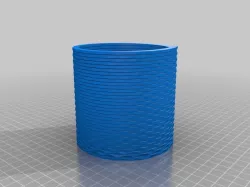
Sometimes you need a spring, why not do it yourself. In my case, I have a torsion sprin...
 thingiverse
replaces bungie sear / catch system with spring system.
 grabcad
Spring and screw.
 thingiverse
I don't know what to say. :)
 thingiverse
Un divertente gioco per regazzi
 thingiverse
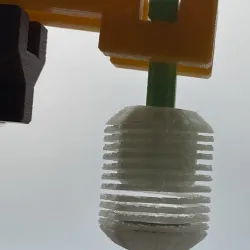
This is a springo i modeled. It does not need support, at .2 mm layer height the ...
 cults3d
Un divertente gioco per regazzi
 thingiverse
This is an alternative design for mendel springs printed with soft PLA. Because the sta...
 cults3d
This is an alternative design for mendel springs printed with soft PLA. Because the st...
 thingiverse
I did not have the spring necessary for the QU-BD extruder, so I made a little remix fo...
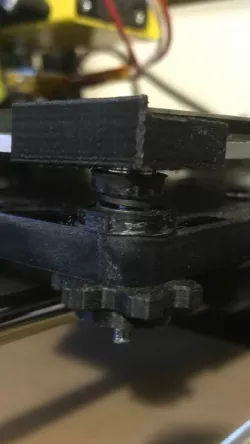 thingiverse
UPDATE: For best results, use two springs per adjustment screw. If anything has frus...
 grabcad
spring spring - lò xo trong lò xo Trung tâm đào tạo SolidWorks - Học Cơ KhíHọc phí 990k...
 grabcad
this is the three spring1. extension spring2. tension spring3. normal spring
 thingiverse
Made the springs curvy, they last way longer now. :)
 cults3d
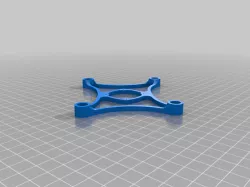
Hello all! here is a brushed 120mm toothpick style quad I've been working on. its a 12...
 myminifactory
Springo version of the classic TippiTree berry to match teh springo trunk! don't let th...
 myminifactory
What a spooky Springo! Print at .15mm layer height and separate spring manually after ...
 myminifactory
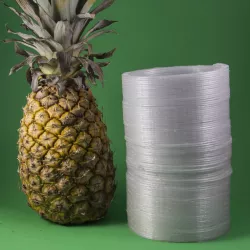
This massive Slingo is larger than a pineapple. Woah. Made for a .15-.2mm layer height...