Geometry Dash Level 12 Icon 3d models
443989 3d models found related to Geometry Dash Level 12 Icon.
cults3d
IF YOU ARE HAPPY WITH THAT, A LITTLE DONATION WILL BE VERY NICE <3https://www.paypal.com/donate/?hosted_button_id=5F525DYM8GXK4 If you want to do a remix or changes to the design, you can get the Fusion 360 and STEP file here:...
thingiverse
To achieve the wow effect, you need to place an LED strip on the back of the decor. My some other things: <a title="Cap.Am. ...Wall Decor" href="https://www.thingiverse.com/thing:5195100" target="_blank"> ...
thingiverse
To achieve the wow effect, you need to place an LED strip on the back of the decor. My some other things: <a title="Cap.Am. ...Wall Decor" href="https://www.thingiverse.com/thing:5195100" target="_blank"> ...
thingiverse
To achieve the wow effect, you need to place an LED strip on the back of the decor. My some other things: <a title="Cap.Am. ...Wall Decor" href="https://www.thingiverse.com/thing:5195100" target="_blank"> ...
prusaprinters
Remember that raw voltage through the pro micro is 5v max, the LEDs i chose were 12 volt, so they did not need a resistor. The single NumLock LED - the anode/positive then goes to the pro micro pin B3 The 2 lower LEDs for layer indication - the...
thingiverse
7) Omni-Directional calibration microphone (Recommended: Sonarworks XREF20) 8) Voicemeter Banana Software (free OSX/Windows) 9) Element LT Modular Plugin Host - *allows VST processing on main outputs* 10) Spectrum Analyzer VST - *for measuring...
prusaprinters
You can now use 2x m3x10 bolts to screw the Bed-Holder to the Bed..Optionally, you can put the Bed-Holder-Door to assure your GT2 BELT with 2 M3x18 and two hexnut or locknut.13º - You will end with a tensioner like this one. Only one bolt...
prusaprinters
There are two variants here, a waterproof version with waterproof connectors, and a simpler non waterproof version. Build thread is here http://discuss.bluerobotics.com/t/my-tether-spool/884 Print Settings Printer Brand: LulzBot Printer: TAZ 5...
thingiverse
12. Allow glue to cure completely for steps 8 - 11. (epoxy ~24 hours) 13. Glue all the play surface tiles to the main body. This part does require you to work quickly and accurately as the piece will slide around as the magnets with their...
thingiverse
Or for Vega 12Б like this one: 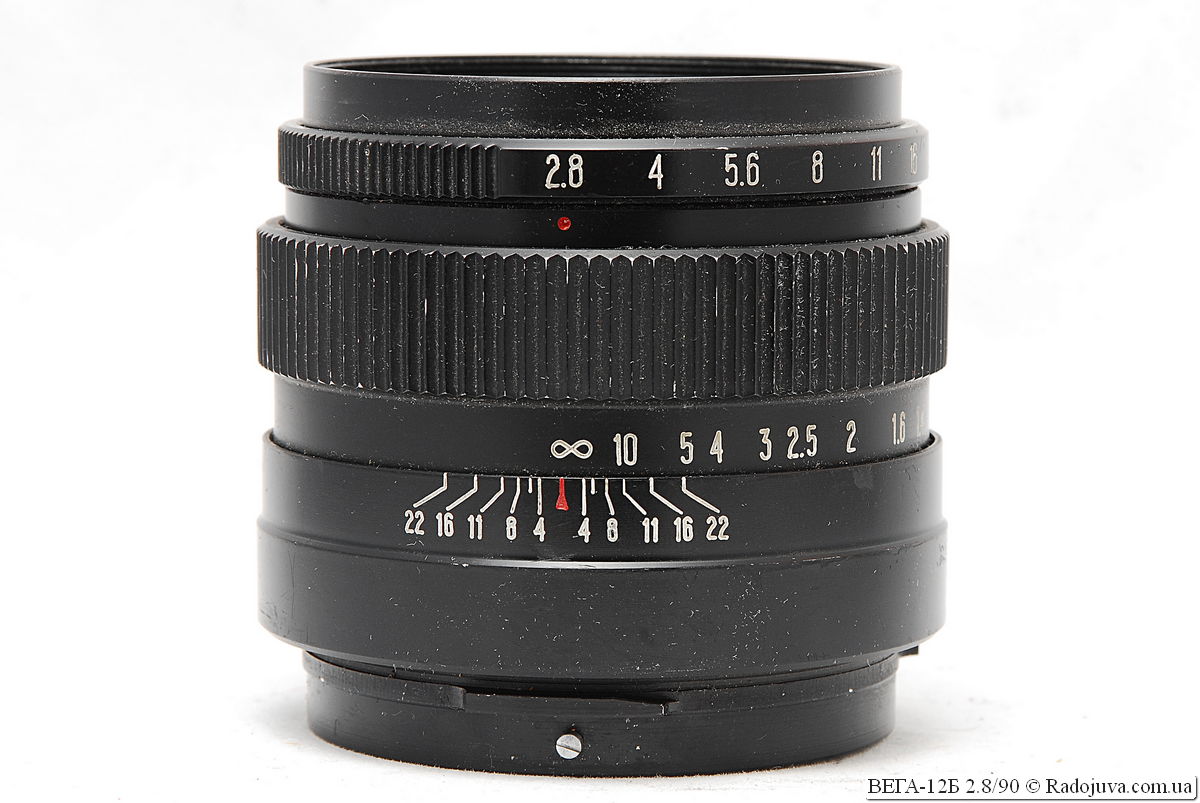 --- The major reason of modification is - to make the Pentacon Six bayonet part much hevier and stronger. Previous version -...
thingiverse
[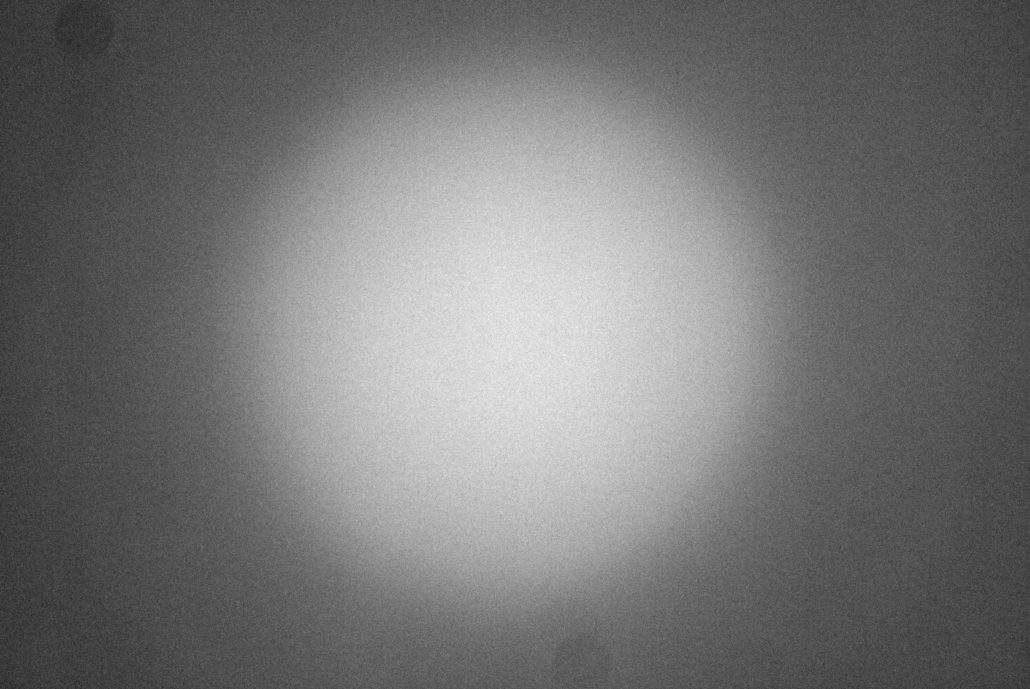](https://www.sternwarte-hoefingen.de/wp-content/uploads/2022/01/2021-10-09-flatfield-vignette.jpg)Beispiel Vignettierung unserer...
prusaprinters
Update 6/23/22Created a different lid (Lid v7.stl) and button (New_Button.stl) that is compatible the very nice TFT LCD display holder by design8studio...
prusaprinters
„Schéma trysky“, cena cca 300,- Kč)Další instalační materiály (pro přívod vody a odpadní potrubí) si uživatel zvolí podle svých dispozicDrobný spojovací materiál (šrouby, vruty, podložky) podle volby uživatele, v případě čepů vruty se zapuštěnou...
prusaprinters
Of course, now that I have the ability to fine-tune, the assembly is moving smoothly without any modification... Parts ListElectronics 1x Arduino Uno 1x Arduino CNC Shield 3x Stepper driver (A4498, DRV8825, SilentStepStick) 4x Endstops (Makerbot) 2x...
gambody
They now are adapted to be 3D printed using any slicing program. 3D model files are already available for purchase and download. ________________________Now, the 3D Model of Zeus MWO is available in two scale: 1/60 for Version 2 (FDM/FFF) and 1/100...
prusaprinters
See section 7 in the build notes for more information. 12/2/19 Added some photos of the Arduino, stepper, and rotary encoder wiring. I bent all the pins on the Nano 90 degrees, to make them easier to access them. In some cases I soldered wires with...
thingiverse
IF YOU ARE HAPPY WITH THAT, A LITTLE DONATION WILL BE VERY NICE <3 https://www.paypal.com/donate/?hosted_button_id=5F525DYM8GXK4 If you want to do a remix or changes to the design, you can get the Fusion 360 and STEP file here:...
prusaprinters
Note that even if your bed is levelled this is not a guarantee that the axes are all perfectly square. The motor mount plate includes adjustment for the mounting to ensure that it is as balanced as it can be.</p><p>The main fan unit is fixed to the...
prusaprinters
Use oil lubricant if friction is generating too much heat – you don't want to melt the adapter with a super heated drill bit.NOTE: When drilling, use a drill bit stop if you have one, or control the quantity of force with which you are pushing,...
prusaprinters
Gone are the days of simply allowing the drains and gutters to take the toxic materials to the lower levels and wastes of the megalopolis! By burning the toxic wastes, even more power is generated, regardless of the pollutants, cancerous agents, and...
cults3d
The use of modern software allows you to significantly speed up the process, creating layouts and prototypes of complex structures with a high level of detail. The resulting product is applicable to paperless production technology. Forms and formats...
prusaprinters
Also, consider using the 7x7 mesh bed leveling (found within the settings menu). This lamp was designed using blender, freecad-daily, gimp and inkscape. If you would like to see my other designs, just search for "frimmel" at <a...
prusaprinters
The wheels have raised ridges to provide some friction when turning; I recommend adjusting the friction level by gently scraping each ridge with a razor knife until there is just slight friction. I also applied a dab of grease before final...
prusaprinters
This decreased the magnetic force on each bit to a more reasonable level, while also reducing touch time, and cost.I have started developing formulas in SolidWorks to modify dimensions of the bit holder based on the amount of bits needed.Attachment...
thingiverse
Having the lock base moved from center of mask will require a higher print levels (“IN_THICK_TOTAL2” for air-in and “OUT_HEIGHT2” for air-out) so long slope side will still print. Dropping the air-outtake “OUT_DOWN” will also require more height and...
thingiverse
Make sure unit is level to bed before tightening. For Ender 3/5/CR10 Style: (Using Ender 3 Mounting Bracket) First mount the Ender3 mounting bracket to the X-gantry using M3 x 10 Flathead bolts into the factory heat-shield mounting...
thingiverse
To do this only connect one of the colored wires going into the driver and combine the two colored wires from the lamp to the one colored wire on the lamp.The high level process is:Check the length of the COB Led against the mount and cut it where...
prusaprinters
Using either my elevation system or any of my 6 exit base tiles or the default Gravitrax parts! The bottom has holes which allow the pilars of my elevation system to be connected to support the lift at levels of different heights. 6 - Improved...
cults3d
Notes: - I printed all the parts lying down with supports and the panels seem strong and turned out pretty well - I left the supports on the body panels to add strength and to provide a surface to mount inside panels like the old school vinyl on...
prusaprinters
The countersunk screw should be flush or below the level of the panel. Its possible you may need to ream the countersink out if the heads on your countersunk screws are larger than the ones I used.</p><p>Next take the Body Interior and...